Quickstart
This guide will walk you through importing a HiRISE Digital Terrain Model (DTM) into Blender. After completing this tutorial you will have imported a HiRISE DTM into Blender, textured it with a photo of the Martian surface, and rendered out a perspective view of the surface from a virtual camera. Additionally, you’ll learn how to handle all of the quirks of working with our DTMs in Blender and should have no problem following other Blender tutorials using our DTMs as assets.
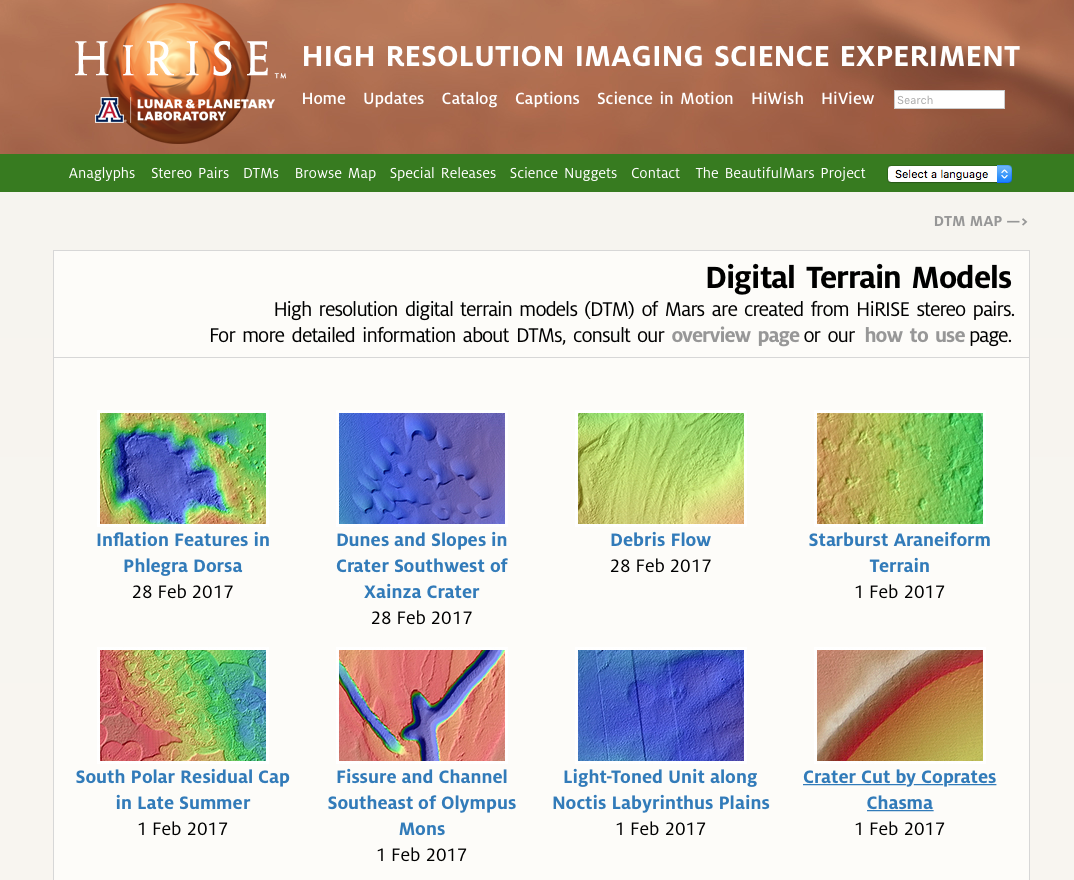
If you haven’t already, download a DTM. Visit the HiRISE DTM catalogue and take your pick.
Our DTMs are big — usually around 250MB, so it’s slow to preview them at full resolution. To get a good idea of what any DTM looks like, click on some of the products linked under “DTM EXTRAS”. These are low-resolution images meant for fast previewing.
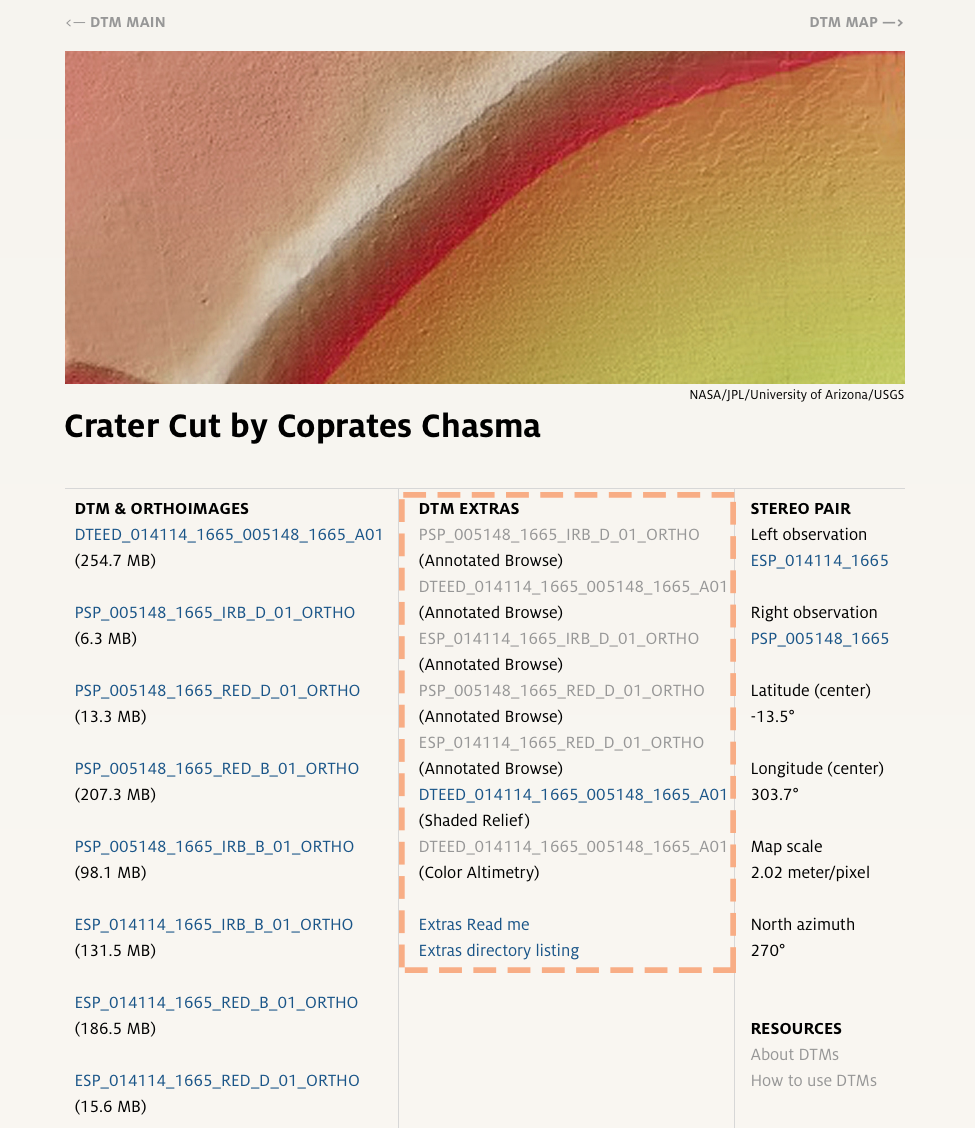
Once you’ve found a DTM you like, right click on the first file under the “DTM & ORTHOIMAGES” section (it should start with
DT) and download the linked file.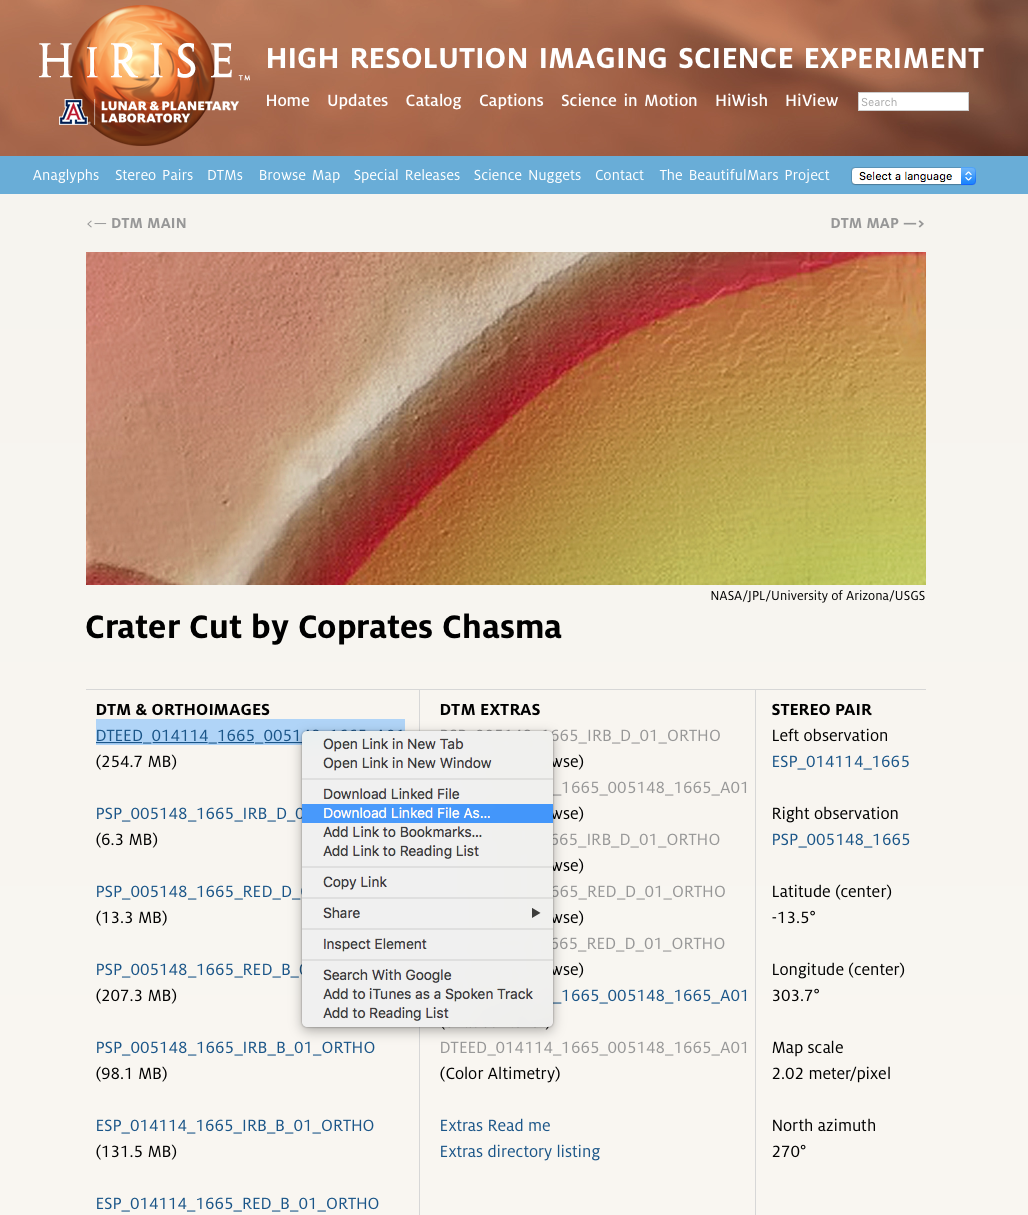
We’ll also download a matching photo of the surface. These are called orthoimages, and are under the same column as the link to the DTM. You’ll notice that some of the names have
IRBin them and others haveRED— you’ll want to download theREDimages. You’ll also notice that after theREDcomes a single letter from the set{A, B, C, D}— these indicate the resolution of the image,Abeing the highest andDbeing the lowest (If you’re interested in learning more about what the filenames mean, you can see the naming scheme here). For this tutorial, download any of the lower resolutionREDimages. The higher resolution ones work just the same (and look very nice) but will result in much longer load times. Your browser may try to open these images if you click on them, so the safest bet for downloading them is by right-clicking and selecting Download or Save As...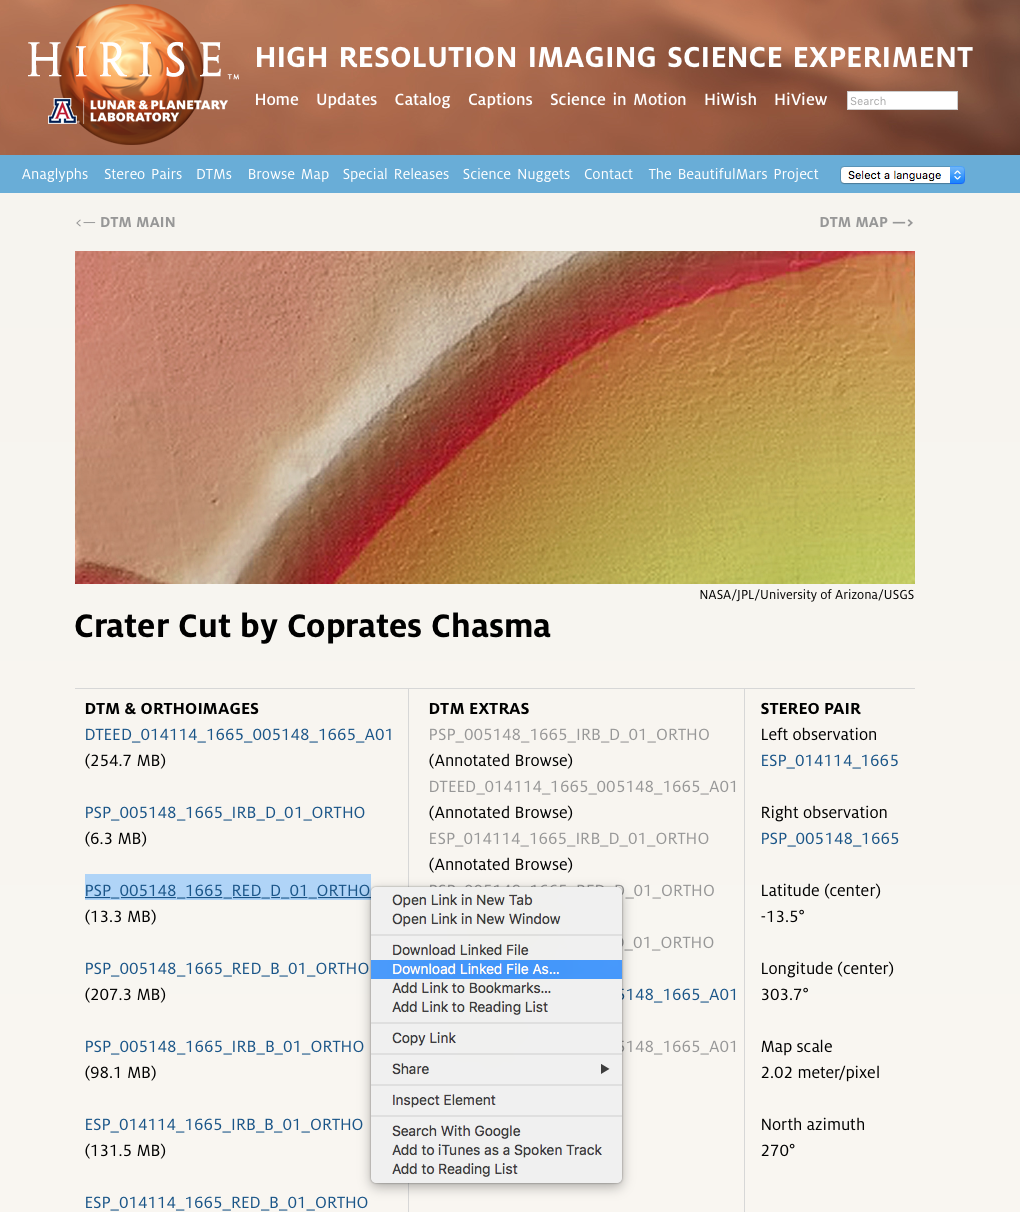
Open Blender.
Select File > Import > Import HiRISE Terrain Model
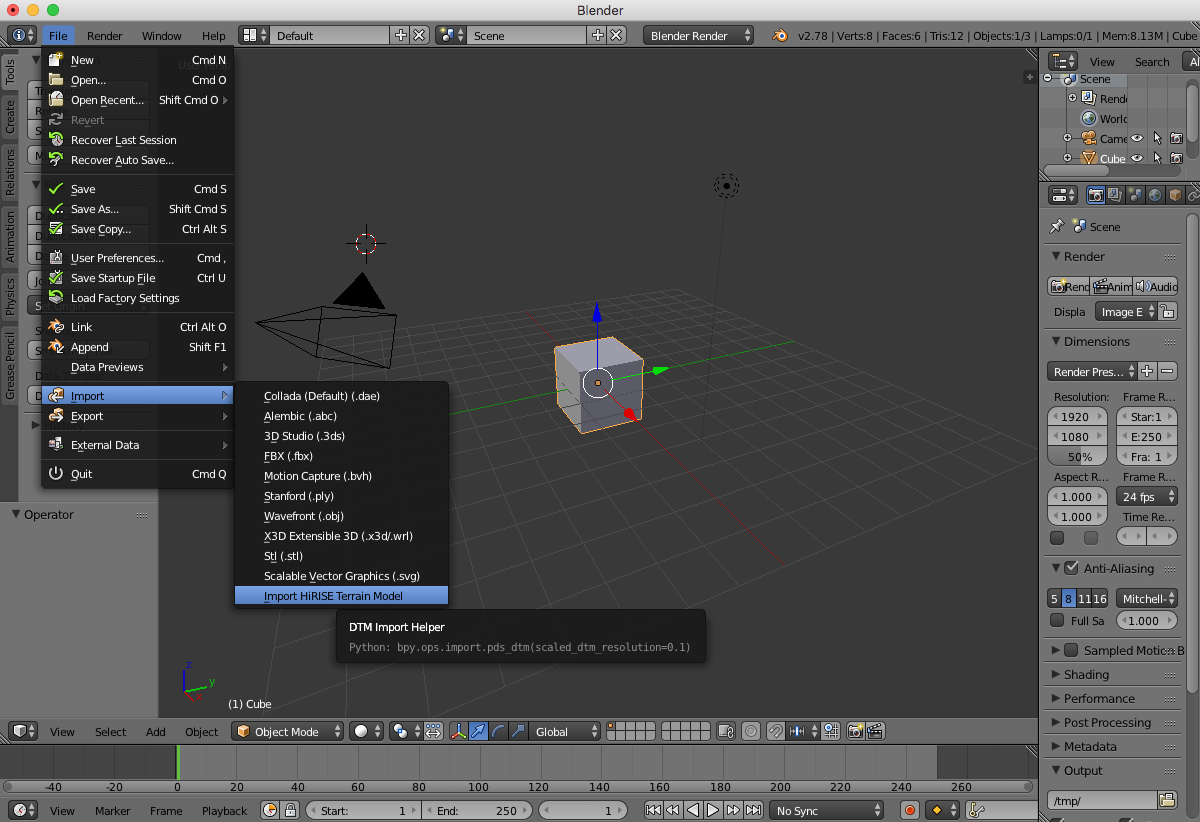
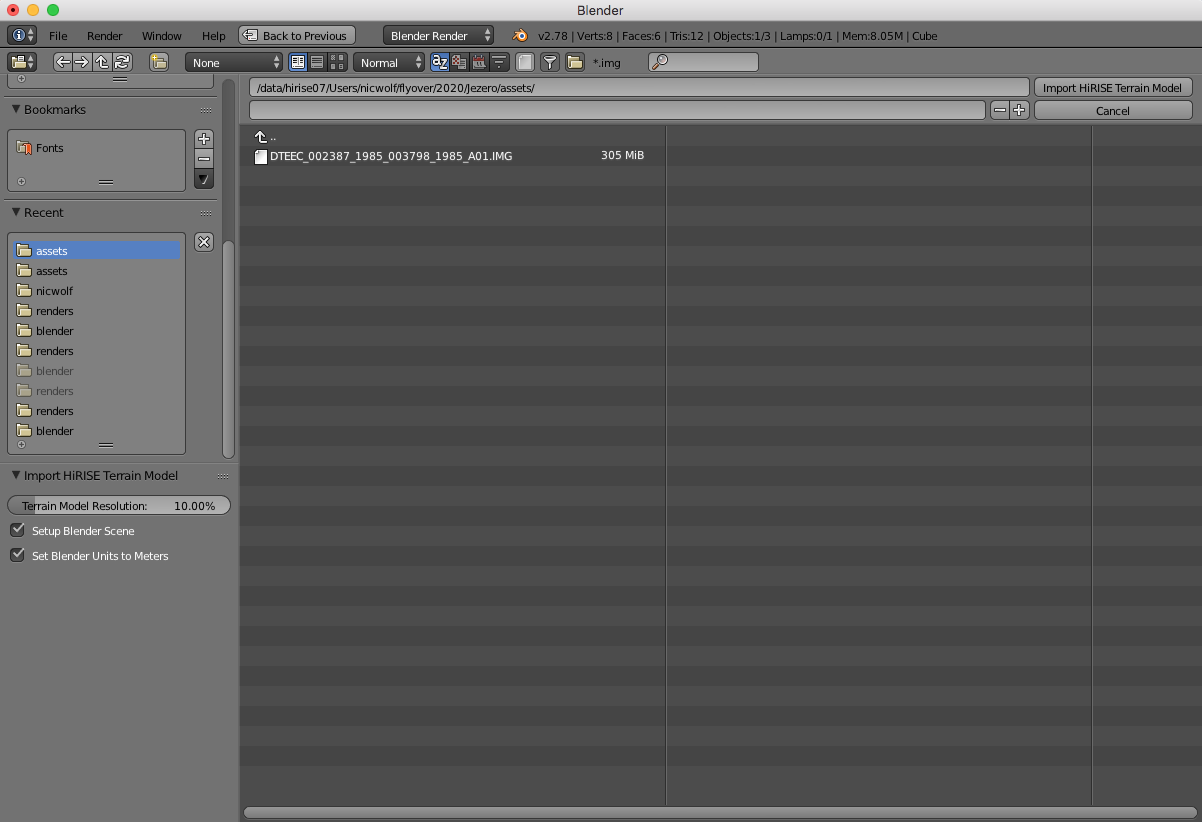
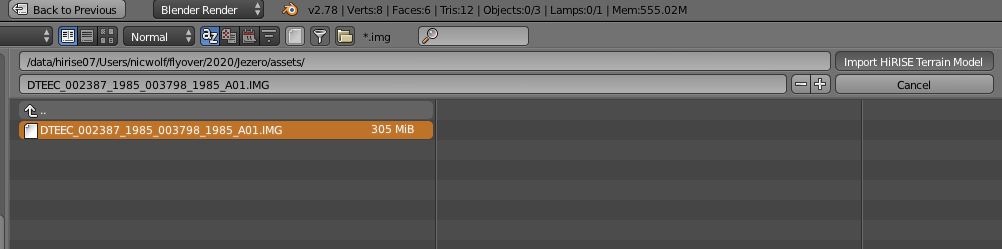
Navigate to where you downloaded the DTM.
You’ll notice a handful of options in the lower-left corner of the screen. The default settings are also the recommended settings, but let’s visit each option briefly:

- Terrain Model Resolution: Determines how much of the data in the DTM ends up as vertices in the 3D mesh in Blender. 100% means every data point in the original DTM will become a vertex, 10% means every 10th data point in the original DTM will become a vertex. Best practice is to leave this value at 10% (or even lower) when you first import a DTM, stage your scene, move the mesh and apply textures, etc... When you’re ready to render, you can update the resolution of the terrain and all of the changes you’ve made to it will persist in the higher-resolution mesh (the one caveat here is that deletions to the mesh won’t persist).
- Setup Blender Scene: Our DTMs cover a lot of ground — often times they are a few kilometers long. Blender isn’t used to dealing with objects that are this large and without making a few changes to the Blender viewport settings, the terrain may appear clipped or may not be visible at all. This option handles increasing the viewport clipping range, expanding the Blender grid floor so that grid lines are a kilometer apart, and gives you a nice birds-eye view of the terrain after it’s loaded.
- Set Blender Units to Meters: By default, Blender’s units are dimensionless. This option will set them to meters, which is useful for doing scale modeling on the terrain mesh.
Select the DTM you downloaded and click Import HiRISE Terrain Model. It may take a few minutes (or even longer, if you increased the terrain resolution) to load the DTM and create a mesh from it.
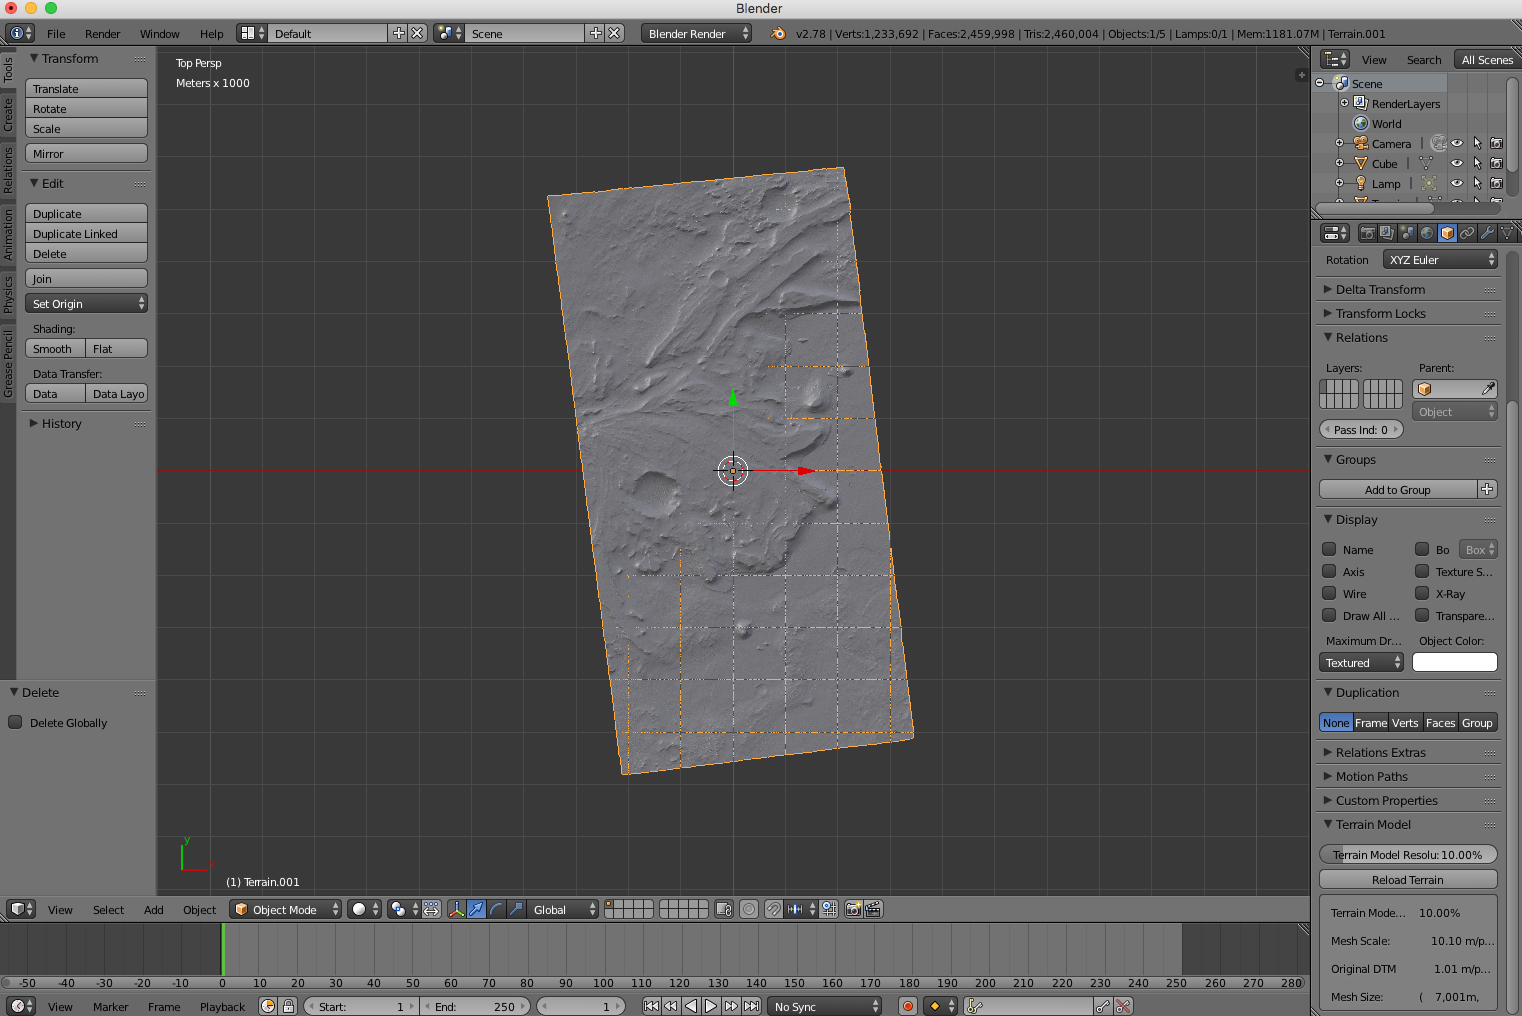
You should end up back in the Blender viewport, with a little piece of Mars in front of you! Next, we’ll drape the photo we downloaded over the terrain as a texture.
Note
We will use Blender’s internal render engine in this tutorial. It is possible (even desireable) to use Cycles for rendering, but there are some additional issues we would need to deal with. See the faq for more information.
Todo
Write the FAQ -_-.
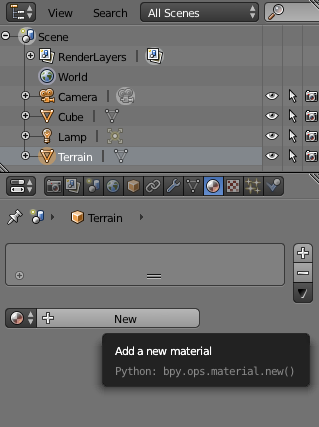
Make sure the “Terrain” object is selected and switch to the Materials tab. Create a new material.
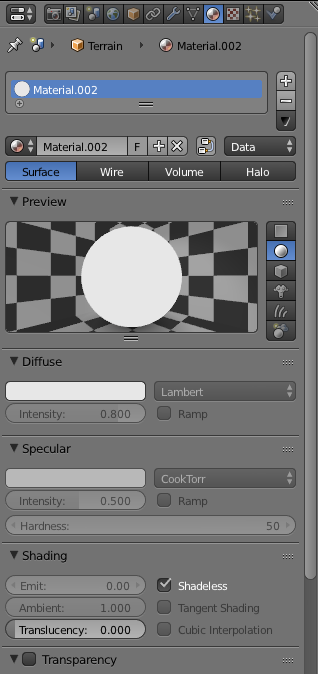
We don’t want to apply any lighting to our scene because our image texture already has lighting information in it. Check the “Shadeless” option in the Materials panel to ensure our terrain object doesn’t reflect light.
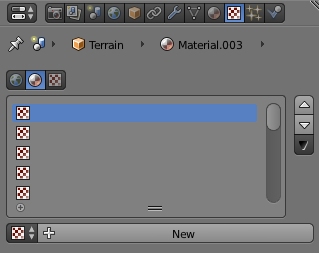
Switch to the Textures tab and add a new texture.
Click the “Open” button under the Texture Image panel.
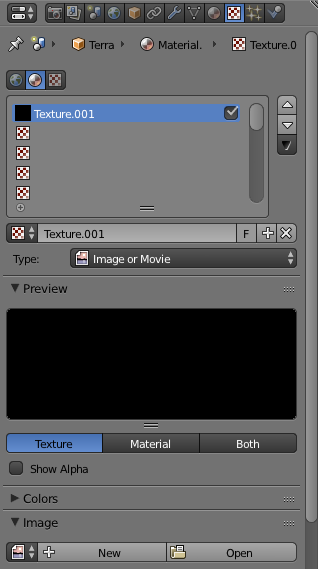
- Navigate to where you downloaded the orthoimage in step 1, select it and click “Open Image”. This may take few minutes to load depending on the resolution of the image.

- Check that everything is working by opening the viewport shading dropdown and selecting “Rendered”.
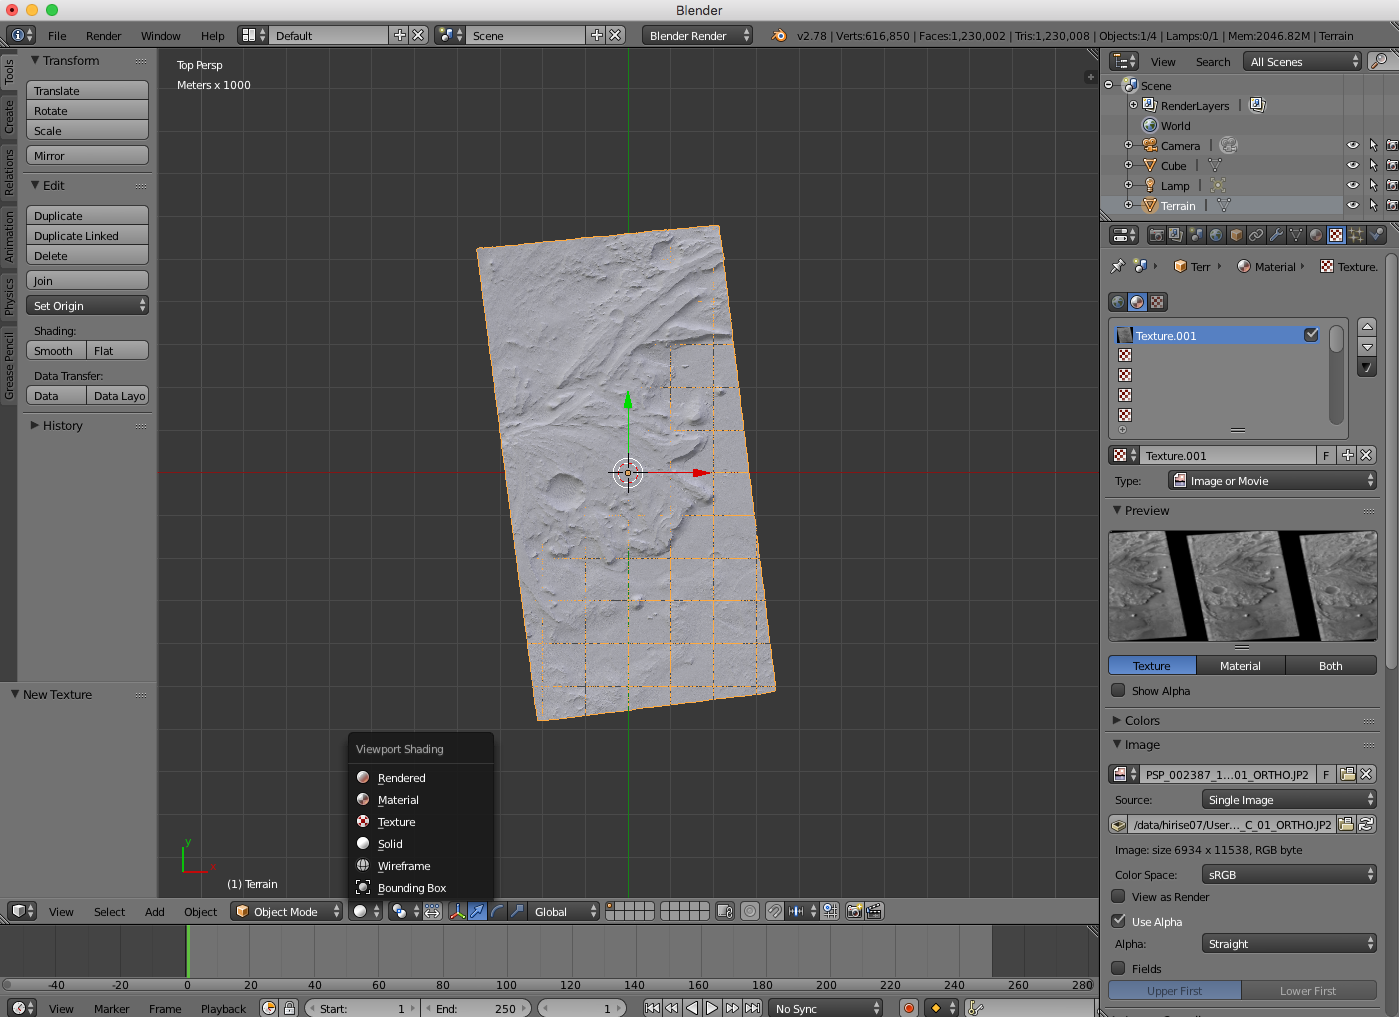
After it loads, you should see something like this:
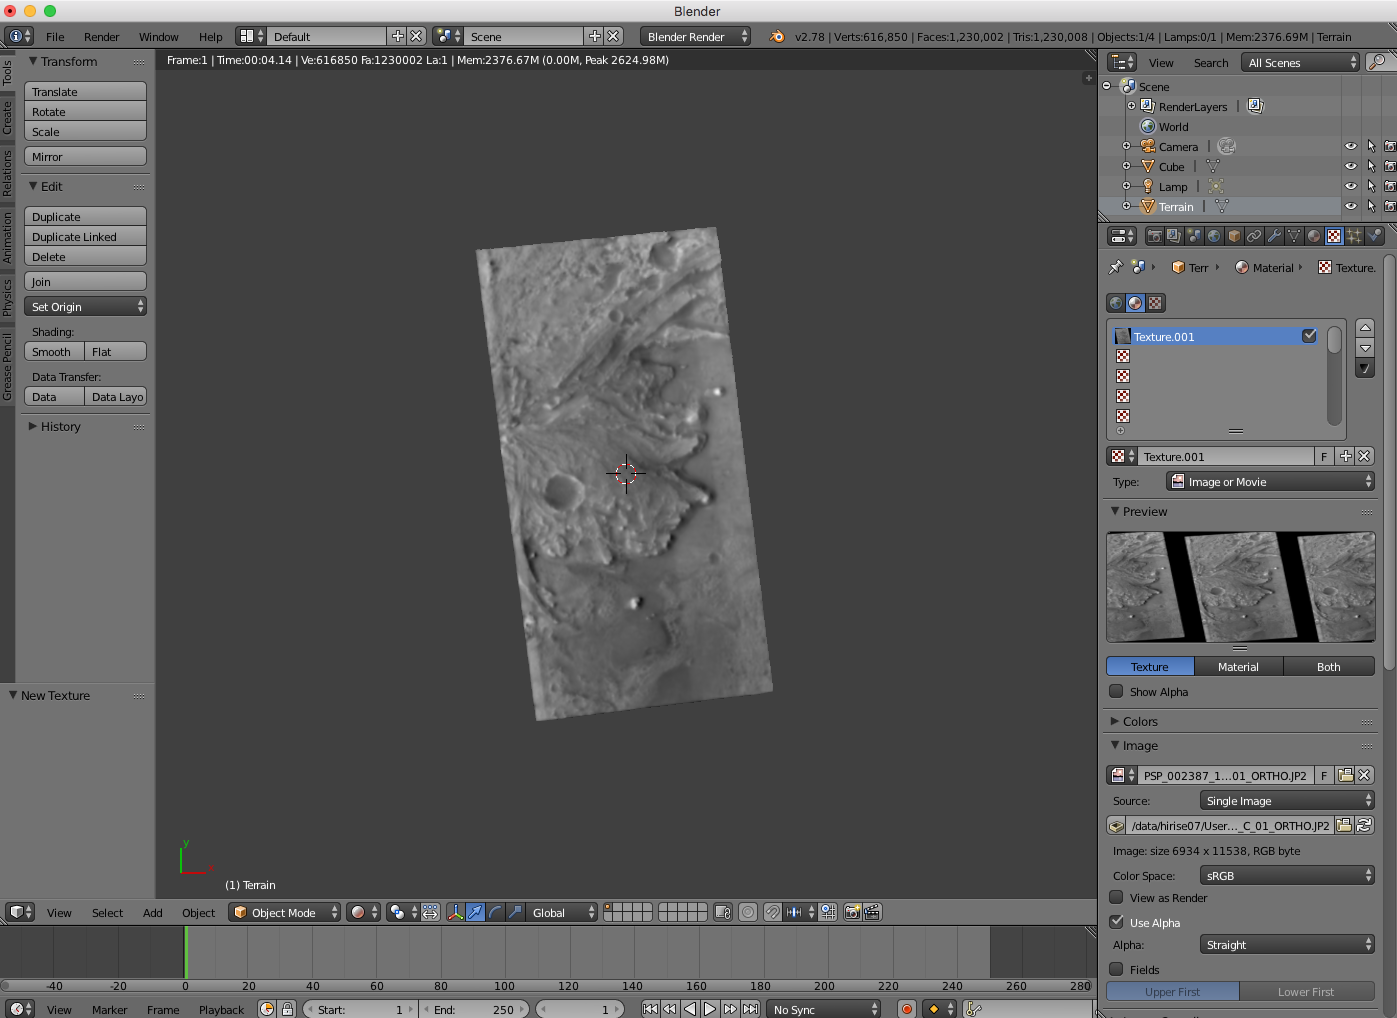
- Open the viewport shading dropdown and switch back to “Solid”. Next, we will render a perspective view of the terrain from a virtual camera.
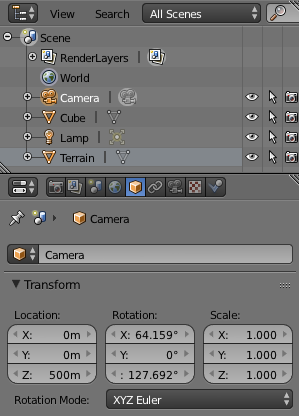
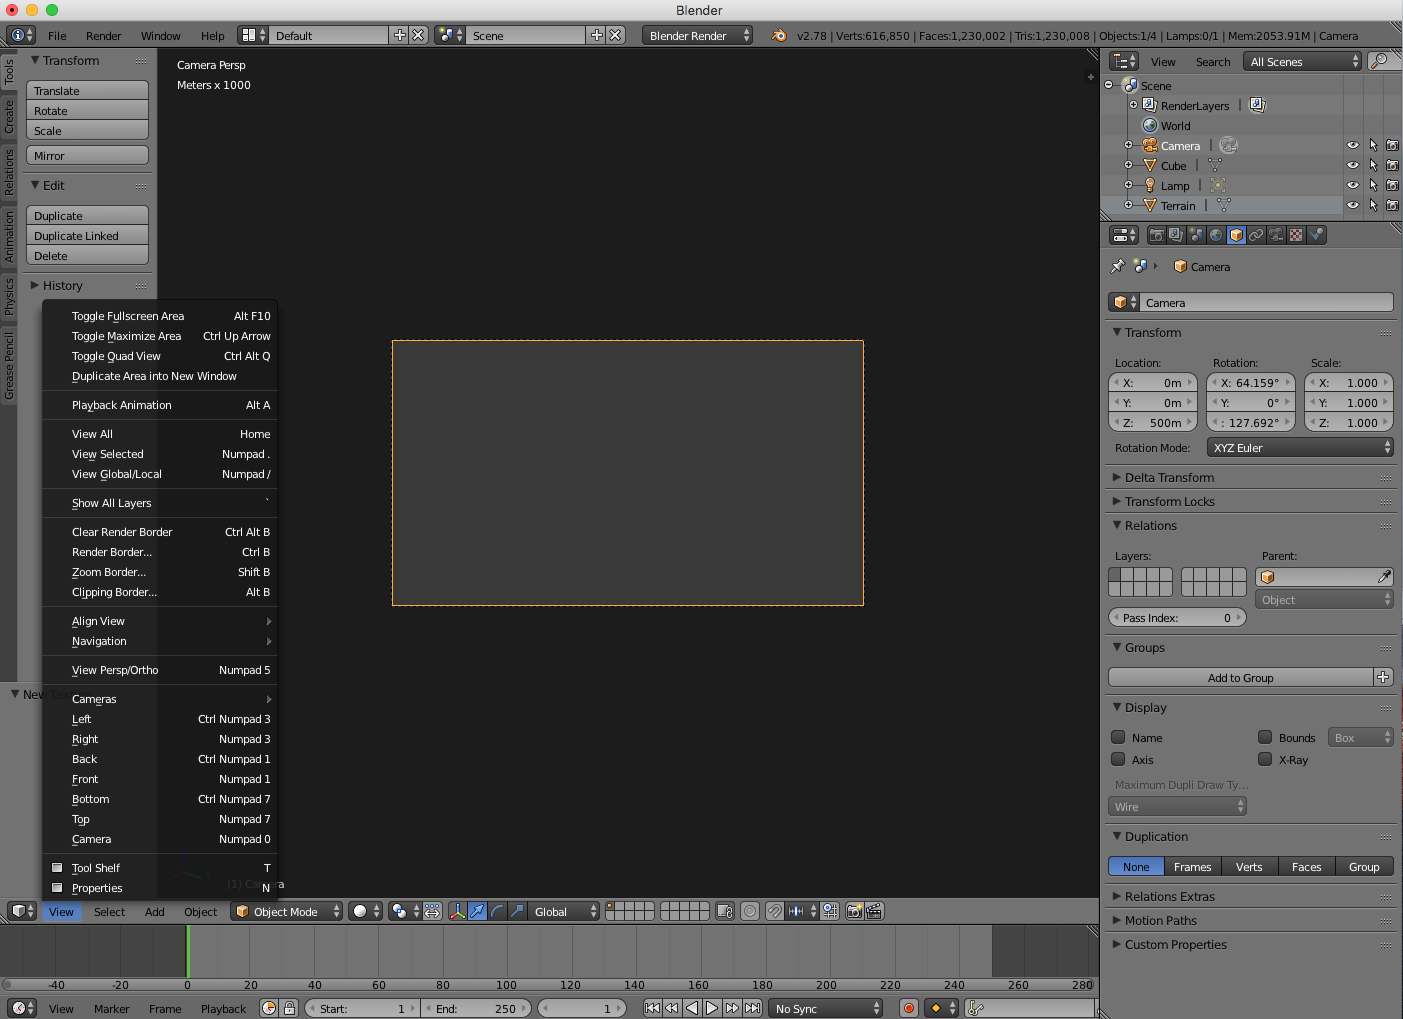
- Select your camera. Change the transform settings so that it is 500m above the origin, like so:
- Select View > Camera (or, press
Numpad 0) to see what your camera sees.
If you end up with a blank screen, don’t worry, that’s expected:
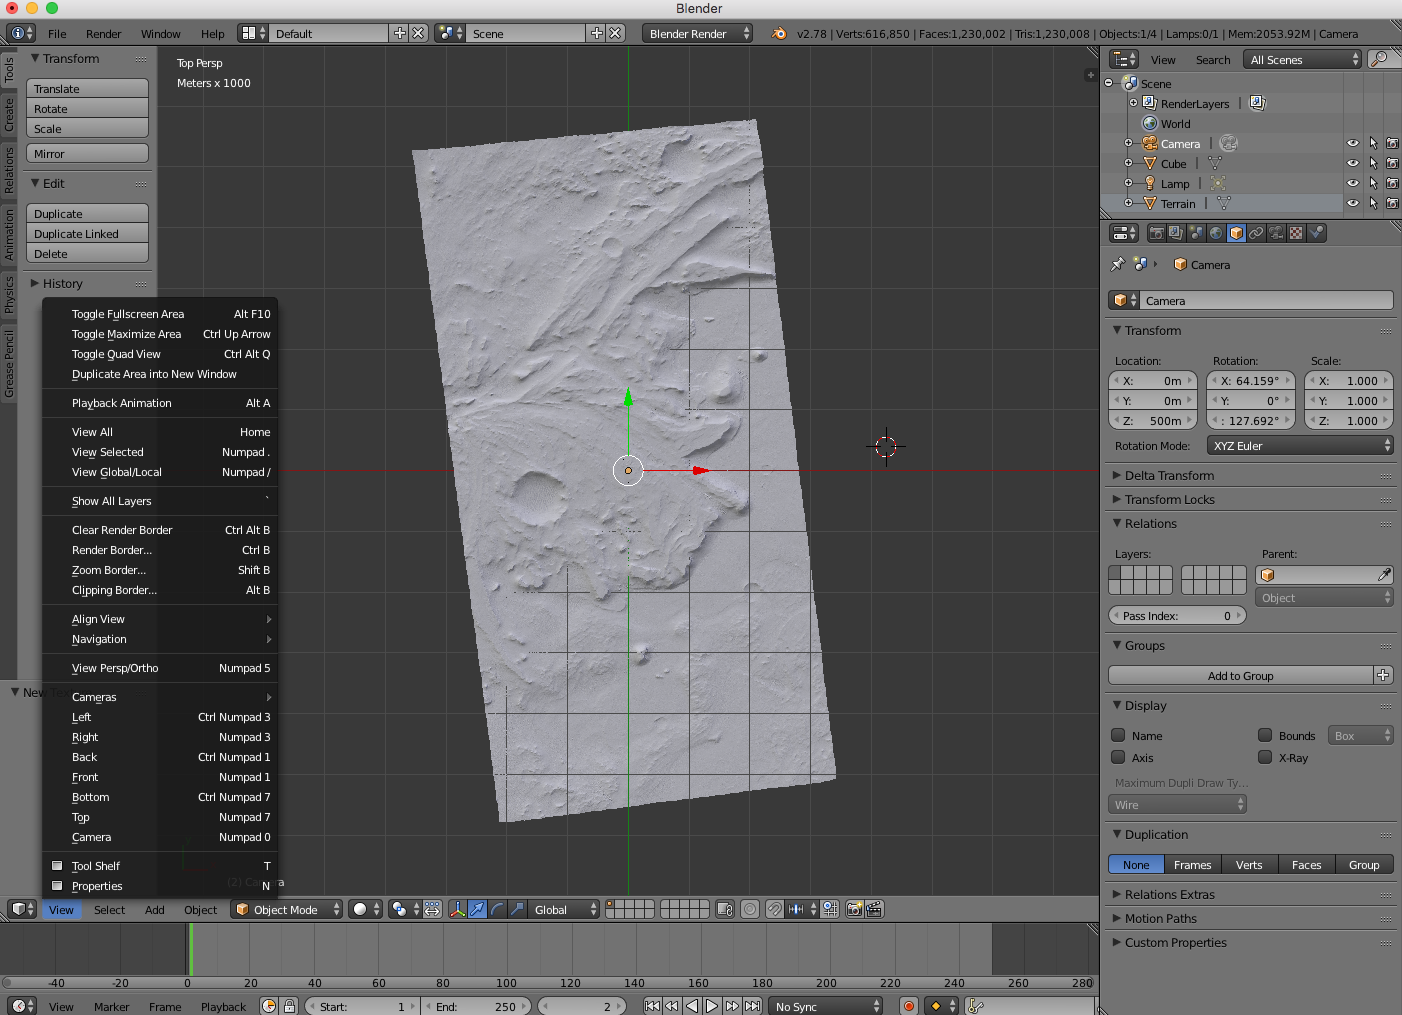
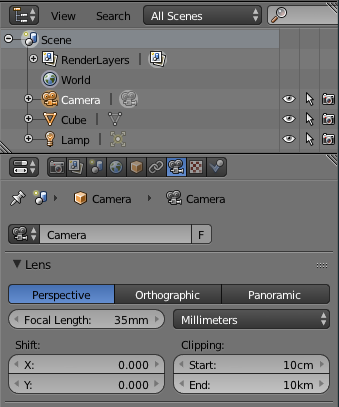
- The problem is, again, that Blender isn’t used to working with such large objects and by default, Blender cameras don’t see anything closer than 10cm or further away than 100m. We can change this by increasing our camera’s clipping range. Select your camera object, switch to the camera panel and increase the “End” Clipping distance to something like 10km.
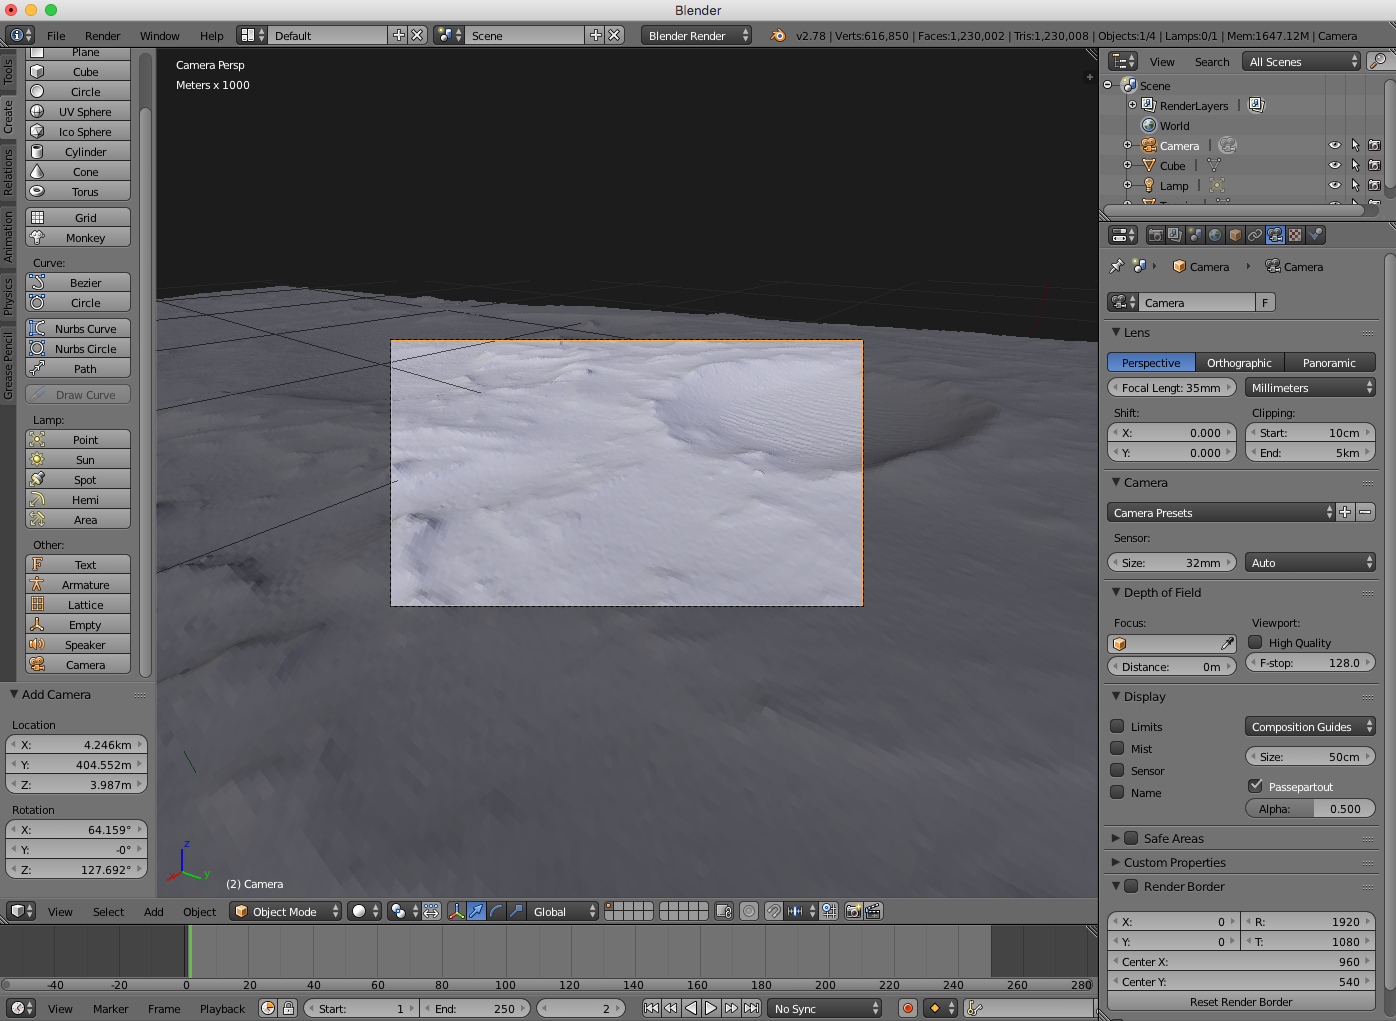
Now, your viewport should properly show the terrain:
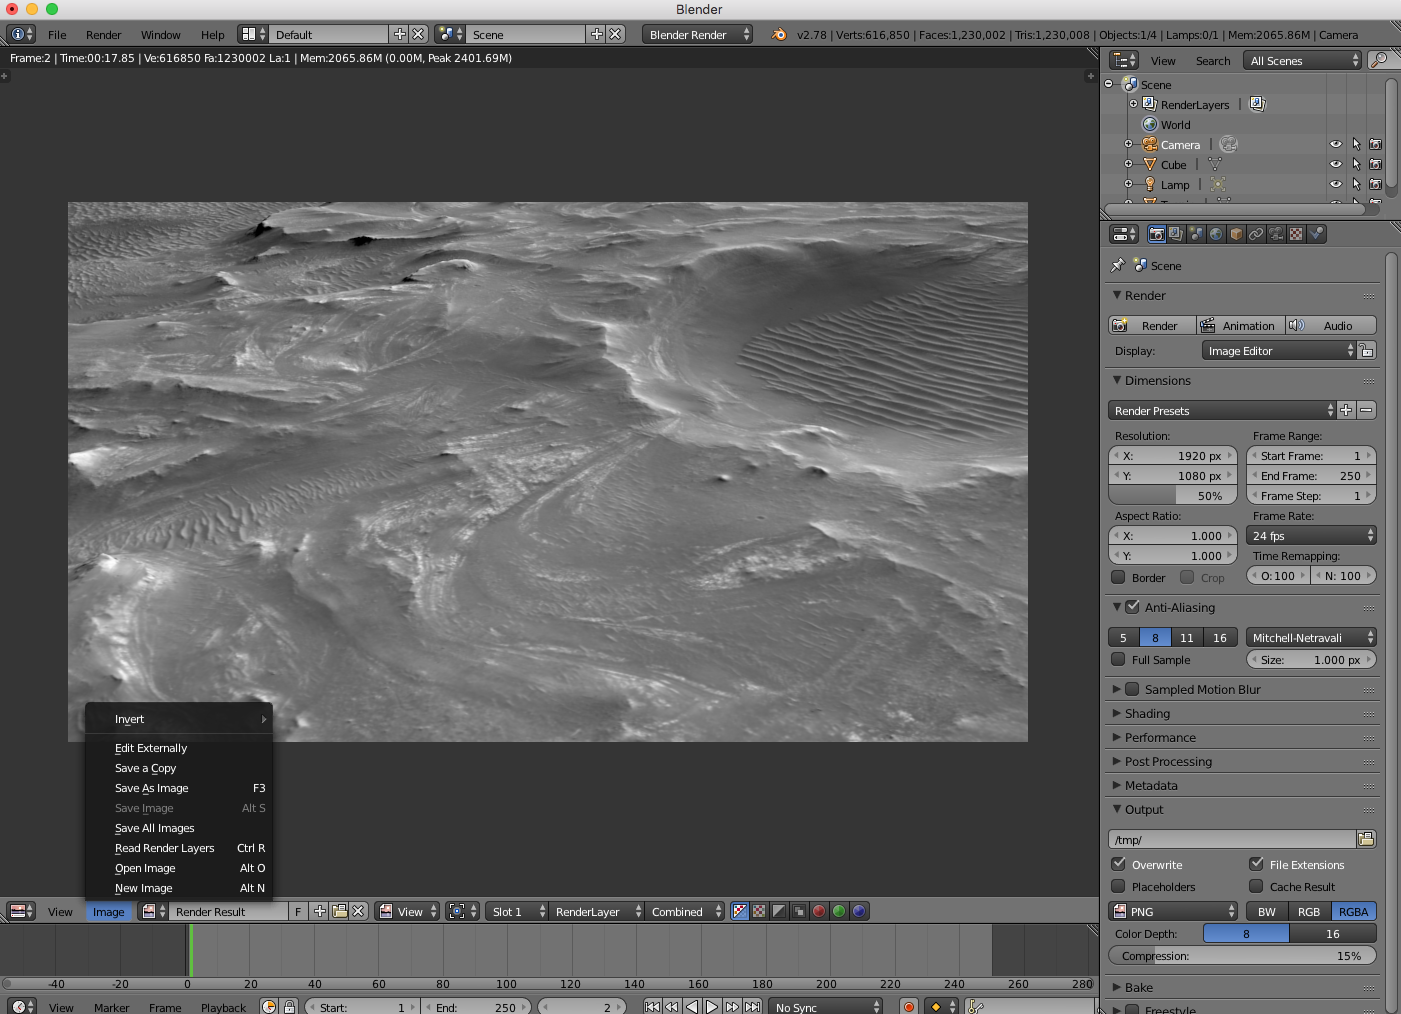
- Now, go back to the Render tab and click the “Render” button.
It may take a couple of minutes to render, but when it’s done you should see a nice 3D view of the surface. If you want to hold on to this image, select Image > Save As Image and save it somewhere:
Otherwise you can hit the escape key to get back to your 3D scene.